Keeping your device’s software up to date is very important. An operating system upgrade brings better security, faster performance, and new features.
But, rushing into an computer update can be risky. You might lose data or face system problems. This could make the update a bad experience.
This detailed OS installation guide will help you upgrade safely. It works for Windows, macOS, or Linux. Our step-by-step guide keeps your files safe and your system running smoothly.
Our expert tips will help you update your system confidently. You’ll feel at ease with your next system refresh.
Essential Preparations Before Operating System Upgrade
Upgrading your operating system needs careful planning to avoid problems. Spending time on the right steps makes the upgrade smooth. Three key steps are essential for a successful upgrade.
Creating a Complete System Backup
First, you must make a full system backup. This backup keeps your data safe during the upgrade. Most operating systems have tools for this:
- Windows users can utilise File History or System Image Backup
- macOS includes the robust Time Machine utility
- Linux distributions typically offer rsync or dedicated backup tools
Tools like Acronis True Image or Macrium Reflect offer extra options. Make sure your backup works by testing it before you start.
Verifying Hardware Compatibility and Requirements
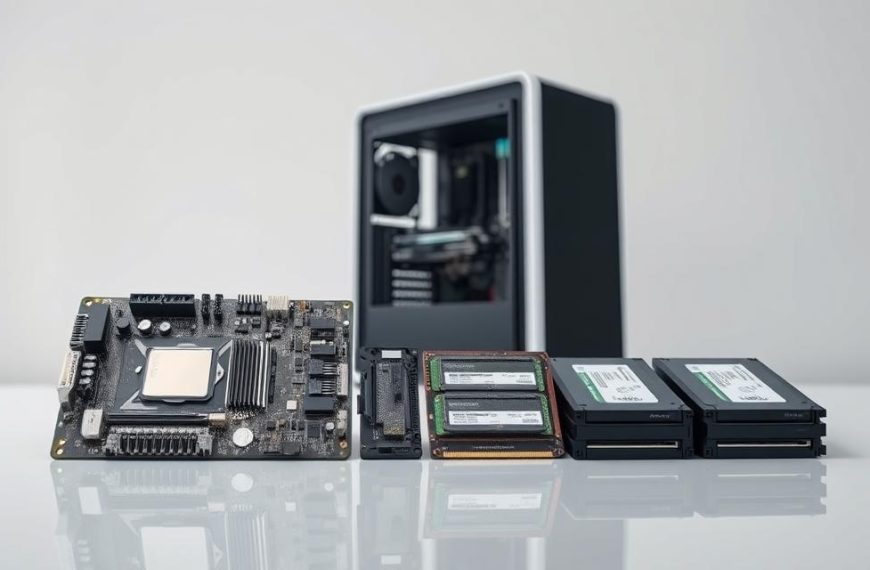
Checking your hardware is also vital. New operating systems might not work with older hardware. For example, Windows 11 needs TPM 2.0, and macOS has specific chip requirements.
Use official tools to check compatibility:
- Windows PC Health Check app validates Windows 11 compatibility
- Apple’s compatibility lists detail supported Mac models
- Linux hardware compatibility databases document component support
Make sure your storage, RAM, and processor meet the new system’s needs. A failed TPM check or not enough storage will stop your upgrade.
Ensuring Uninterrupted Power Supply During Installation
Stable power is key during installation. Losing power can make your system unbootable. Desktop users should get a UPS for enough battery time.
Laptop users should stay plugged in during the upgrade. Check your battery health first. If it can’t keep up, wait until it’s charged enough.
Even though newer systems handle power loss better, it’s best to prevent it. A steady power supply means your upgrade goes smoothly without losing data.
How to Upgrade Computer Operating System: Windows Procedures
Upgrading your Windows operating system needs careful planning. Microsoft offers several ways to move between versions. Each method has its own benefits, based on your needs and system.
Step-by-Step Windows 10 to Windows 11 Upgrade
For most, upgrading from Windows 10 to Windows 11 is the easiest way. First, check if your device meets the system requirements. This includes TPM 2.0 and secure boot.
Here’s how to upgrade successfully:
- Open Settings and go to Update & Security
- Click Windows Update and select Check for updates
- If there’s an update, you’ll see the Windows 11 option
- Click Download and install to start
- Your computer will restart a few times during the install
This method keeps your files, apps, and settings safe while updating. The whole process usually takes 60-90 minutes. This depends on your internet and computer’s speed.
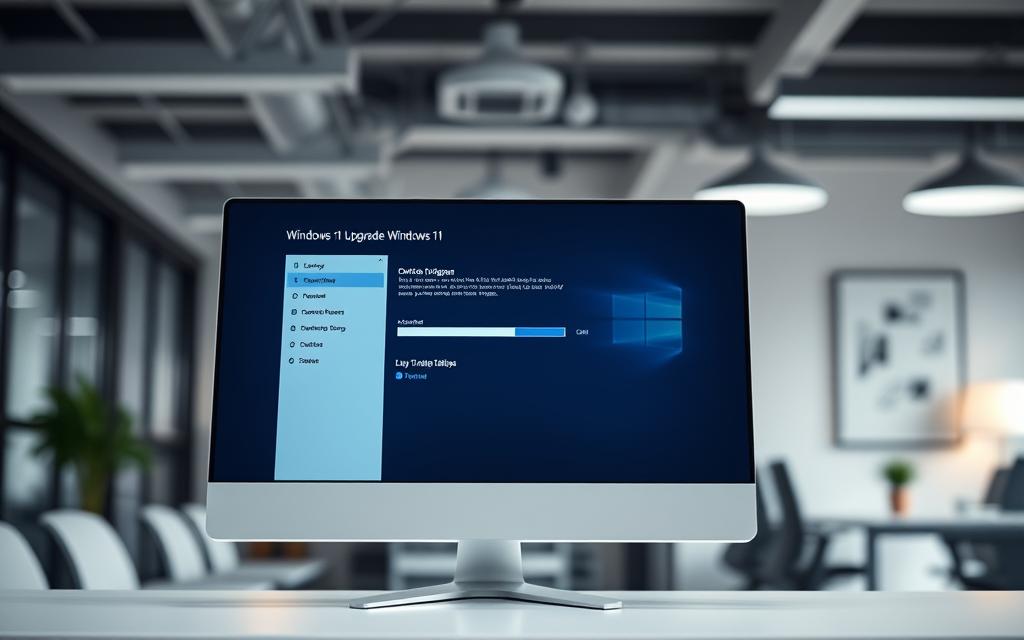
Using Windows Update for Seamless Transitions
Windows Update is the main way to get operating system upgrades. It automatically tells devices when new versions are ready. This makes upgrading easy for users.
The system checks for compatibility on its own, so you don’t have to do much. If you want more control, you can find other ways to install Windows on Microsoft’s support site.
Regular updates keep your system safe and up-to-date. Windows 11 handles these updates itself. This means you don’t have to do much to keep your system running smoothly.
Creating Bootable Media for Clean Installations
If you want a clean start or have upgrade problems, making bootable media is a good option. This method installs Windows 11 from scratch, removing old files and apps.
You’ll need a USB drive with 8GB free space and Microsoft’s Media Creation Tool. Here’s what to do:
- Download the Windows 11 ISO file
- Use the Media Creation Tool to format your USB drive
- Copy the installation files to the USB drive
- Boot from the USB drive to start the install
Clean installs fix system problems and improve performance. But, you’ll need to reinstall apps and restore personal files from backups. This is great for fixing persistent issues or setting up a new computer.
Whether to upgrade in place or do a clean install depends on what you need. The former keeps your current setup, while the latter gives you a fresh start.
macOS Upgrade Methodology
Apple’s ecosystem makes upgrading your operating system easy. It has processes designed for user convenience. The upgrade journey starts in System Preferences, but there are other ways for more complex cases.
System Preferences Update Process
To upgrade macOS, go to System Preferences and choose Software Update. This method checks for updates and shows clear options to install them.
For the best results, make sure your Mac meets these conditions:
- Keep your Mac plugged in during the installation
- Have a stable internet connection
- Close all apps before starting
- Give enough time for the process without interruptions
Many users like to set up automatic updates in System Preferences. This keeps your system up-to-date with security patches and new features.
macOS Recovery for Major Version Upgrades
For big version changes or upgrade problems, macOS Recovery is key. It boots from a special partition and has tools for system care.
To get to macOS Recovery, restart your Mac and hold Command-R. It lets you:
- Reinstall macOS without losing data
- Restore from Time Machine backups
- Use Disk Utility for storage checks and fixes
- Access Safari for online help
This method is great when usual updates don’t work or for clean installs.
Hardware Compatibility Considerations
Before upgrading, check if your hardware is compatible. Apple has lists for each macOS version. They show which Macs and specs are supported.
Important factors for compatibility include:
- Processor type and power
- System memory (RAM)
- Storage type and space
- Graphics processing needs
Older Macs might not run the latest macOS. But, they often get security updates for older systems. Always check Apple’s documentation before upgrading to make sure your hardware is compatible.
Knowing these requirements helps avoid installation problems. It also ensures your Mac runs well after the upgrade. Apple’s focus on both hardware and software makes upgrades smoother than on other platforms.
Linux Distribution Upgrade Techniques
Upgrading Linux systems is different from updating graphical interfaces. It needs careful terminal management. You must know about package management and how to handle config files.
Ubuntu Upgrade Process via Terminal
Ubuntu uses the do-release-upgrade command for big version jumps. Make sure your system is up to date with apt-get upgrade before starting.
The upgrade steps are:
- sudo apt update – updates package lists
- sudo apt upgrade – installs updates
- sudo apt dist-upgrade – manages dependencies
- sudo do-release-upgrade – starts the upgrade
Keep your internet connection stable during the upgrade. Terminal upgrades can take a while, depending on your system.
Managing Package Dependencies and Conflicts
Managing Linux packages means dealing with complex dependency chains. The Advanced Package Tool (APT) usually sorts out most dependencies during upgrades.
Here are some ways to handle conflicts:
- Use apt-get -f install to fix dependency issues
- Check held packages with dpkg –get-selections | grep hold
- Look at dependency trees with apt-cache depends command
Third-party repositories can cause problems. Disable them before big upgrades.
Handling Configuration File Preservation
Config files hold your system’s custom settings. They need protection during upgrades. Package managers usually ask you about modified config files.
Here’s how to keep your config files safe:
- Backup the /etc/ directory before upgrading
- Keep track of any changes to config files
- Use version control for important configs
- Check if new versions work with your configs
Package managers usually keep your changes while updating default files. Always check your config files after an upgrade.
Critical Post-Upgrade Verification Steps
After you’ve installed your new operating system, the real work starts. This is when you make sure your upgrade works as expected. It’s all about avoiding problems later and making sure your computer runs smoothly.
First off, check how your computer behaves. See how it handles everyday tasks. Look out for any slow downs, freezes, or error messages that could mean trouble.
System Stability and Performance Testing
Start by keeping an eye on your system’s health. Open lots of apps at once to see how it handles memory. Use the task manager to check if your CPU or memory are being used too much.
Run stress tests if you can. These tests push your system to find any weak spots. Also, watch the temperatures to make sure everything stays cool.
Here are some key things to check:
- How long it takes to start up
- How fast apps launch
- How well it handles lots of tasks at once
- How it handles heat during hard tasks
Driver and Peripheral Compatibility Checks
Checking drivers is very important after an upgrade. “Get all your drivers up-to-date” is key advice from experts. This is true for all operating systems.
Look in device manager for any unknown devices. If drivers are missing, you’ll see warning signs. Focus on graphics, network, and audio drivers first.
Test all your devices carefully:
- Printers and scanners: Try printing and scanning
- External storage: Check if it works and how fast it is
- Input devices: Make sure all buttons and features work
- Displays: Check the resolution and colours
Application Functionality Validation
Testing your apps is vital to make sure they work with the new system. Start with your most important apps. Check both basic and advanced features.
Make a checklist for each app:
- How well it starts and stops
- Can it open and save files?
- Do plugins and extensions work?
- Can it print and export files?
- Does it keep your settings?
Be extra careful with apps like accounting software or design tools. They often need special settings that might change with an OS update. Note any problems for later fixing.
It might take a few days to really check everything. Keep a record of any odd behaviour. This careful approach ensures your system is stable and runs well.
Troubleshooting Common Upgrade Complications
Even with careful planning, operating system upgrades can sometimes go wrong. When problems happen during or after installation, a clear plan for upgrade troubleshooting is key to fixing issues.

Boot Failure Resolution Strategies
System boot failure is a major problem. If your computer won’t start after an OS update, there are ways to fix it.
Windows has several recovery options through the Advanced Startup menu. You can get to this by interrupting the boot process three times or using installation media.
For quick fixes, try booting into safe mode. This loads only the most basic drivers and services. It helps find out what’s causing the problem.
- Access safe mode by pressing F8 during boot (older Windows versions)
- Use Shift + Restart combination for Windows 10/11 recovery options
- Utilise macOS Recovery by holding Command + R during startup
- Employ Linux recovery mode from GRUB boot loader menu
Driver Conflict Resolution Methods
Driver conflict issues often pop up after OS upgrades. This is usually because hardware manufacturers haven’t updated their drivers for the new OS.
Outdated drivers are the main cause of instability after upgrades. They can cause devices to malfunction, slow down your system, or even crash it.
To fix this, start by finding the problem drivers in Device Manager (Windows) or System Information (macOS). Look for devices with warning symbols.
Here are some ways to solve the problem:
- Download the latest drivers from the manufacturer’s website
- Use Windows Update or Apple Software Update for certified drivers
- Roll back to previous driver versions through device properties
- Use driver verification tools to find conflicts
Failed Upgrade Recovery Procedures
When upgrades fail or leave your system unstable, there are ways to get back to normal.
Windows has System Restore points that can be used to go back to before the update. These snapshots keep your data safe while changing system files and settings.
For macOS users, Time Machine backups can restore the system to before the upgrade. This works if you’ve been making regular backups.
If the system can’t boot, you’ll need to use installation media. Both Windows and macOS installation media have tools to fix boot issues and corrupted files.
Linux systems often have package manager rollback features or can reinstall specific components without losing user data.
Remember, successful recovery often relies on having good backups before you start the upgrade.
Optimising and Maintaining Your Upgraded System
After upgrading your OS, the real challenge starts. You need to optimise and maintain your system for long-term reliability and security. Good maintenance makes your upgrade worth it by improving performance and protecting against threats.
Regular Update Schedule Implementation
Having a regular update schedule is key for keeping your system safe and stable. Both Windows and macOS have automated update options that make this easy.
For Windows users, setting Windows Update settings to automatic is a good idea. It ensures you get important security patches and updates without having to do anything. Windows 11 is great at this, updating in the background without interrupting your work.
macOS users can also set up automatic updates through System Preferences. This keeps your system safe by installing security updates and new versions as they come out.
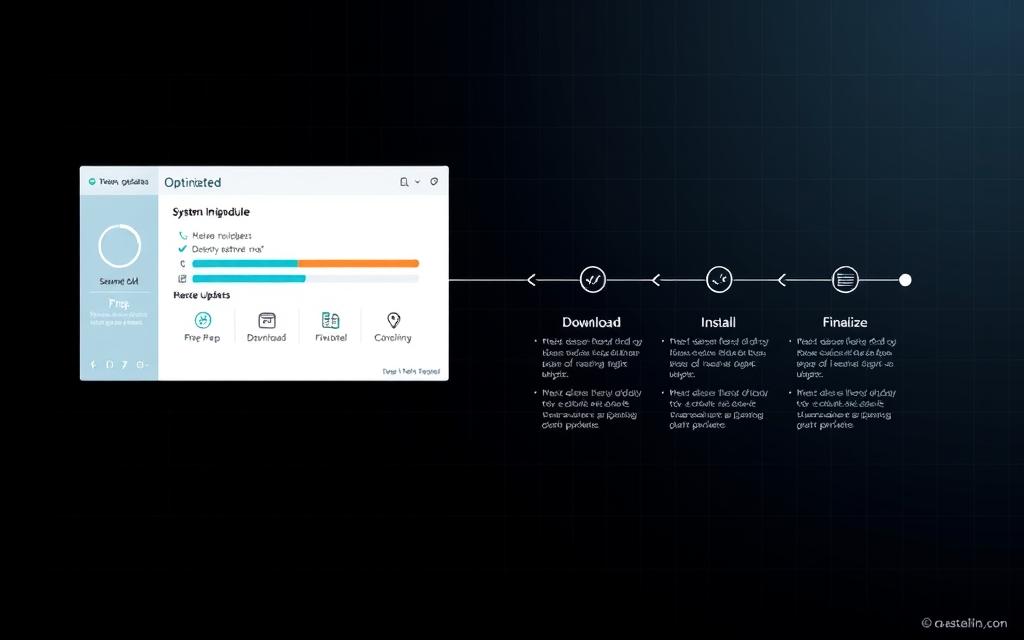
System Performance Optimisation Techniques
Improving your system starts with managing startup programs. Many apps start automatically, which can slow down your computer and use up resources.
Check your startup items often and turn off apps you don’t need. Windows Task Manager and macOS Activity Monitor make it easy to manage these programs.
Cleaning temporary files and system cache can also boost performance. Tools like Windows Disk Cleanup and macOS Storage Management help get rid of files you don’t need.
Security Configuration Best Practices
After upgrading, it’s important to check your security settings. Start by making sure your firewall is on and set up right to watch your network traffic.
Adjust your User Account Control settings to protect your system without getting in the way too much. The default setting is usually a good middle ground.
Here are some key security settings to consider:
- Enable full-disk encryption (BitLocker for Windows, FileVault for macOS)
- Set up automatic malware scanning
- Check your app permissions and privacy settings
- Use strong passwords and consider multi-factor authentication
Regularly checking these security settings helps keep your upgraded system safe and running smoothly. This is thanks to careful system optimisation.
Conclusion
Upgrading your operating system can make your computer faster and safer. This guide has shown you how to do it right, from backing up your files to checking everything works after the upgrade. It doesn’t matter if you’re using Windows, macOS, or Ubuntu.
Once you’ve upgraded, keep your system in top shape. Make sure to update your drivers and software often. This helps prevent problems and keeps your system safe from viruses and malware.
This summary shows how careful planning and ongoing care are key. By following these steps, you’ll enjoy a reliable and efficient computer for many years.
FAQ
What is the most critical step before upgrading my operating system?
The most important step is to create a full system backup. This keeps all your data, settings, and apps safe. You can use Windows Backup, Time Machine, or Acronis True Image for this.
How can I check if my hardware is compatible with a new operating system like Windows 11?
For Windows 11, use the PC Health Check app from Microsoft. For macOS, check Apple’s support pages. For Linux, like Ubuntu, see the Ubuntu website for system requirements.
What should I do if my computer loses power during an OS upgrade?
Use a UPS for desktops to avoid power loss. If power cuts out, try booting into recovery mode. You might need to restore from a backup or restart the installation.
What is the difference between an in-place upgrade and a clean installation?
An in-place upgrade keeps your files and settings but updates the OS. A clean installation erases your drive and installs the OS fresh. This can fix performance issues but means you’ll need to reinstall apps and restore data from a backup.
How do I upgrade my macOS using System Preferences?
Open System Preferences and select Software Update. If an upgrade is available, click Upgrade Now. Follow the instructions to download and install the new version. Make sure your Mac is plugged in and has a stable internet connection.
What should I do if my peripherals stop working after an upgrade?
First, check if the hardware is recognised in Device Manager on Windows or System Information on macOS. Update or reinstall drivers from the manufacturer’s website. For Linux, use terminal commands or package managers to install missing drivers or resolve dependency issues.
How can I revert my system if an upgrade fails critically?
On Windows, use System Restore if you created a restore point. On macOS, use Time Machine to restore from a backup. For Linux, boot from a live USB and restore from a backup or reinstall the previous version.
What are the best practices for maintaining my system after an upgrade?
Enable automatic updates for your OS and security software. Clean temporary files regularly. Manage startup programs to improve performance. Review security settings like firewall rules and user account controls to keep your system secure.
Are there risks involved in upgrading my operating system, and how can I mitigate them?
Yes, risks include data loss, system instability, and hardware incompatibility. To avoid these, back up your data thoroughly, check hardware compatibility, ensure stable power, and follow a careful upgrade process.
How do I upgrade Ubuntu using the terminal?
Use the command sudo do-release-upgrade in the terminal. First, update your system with sudo apt update && sudo apt upgrade. Back up important configuration files to avoid losing custom settings during the upgrade.

